
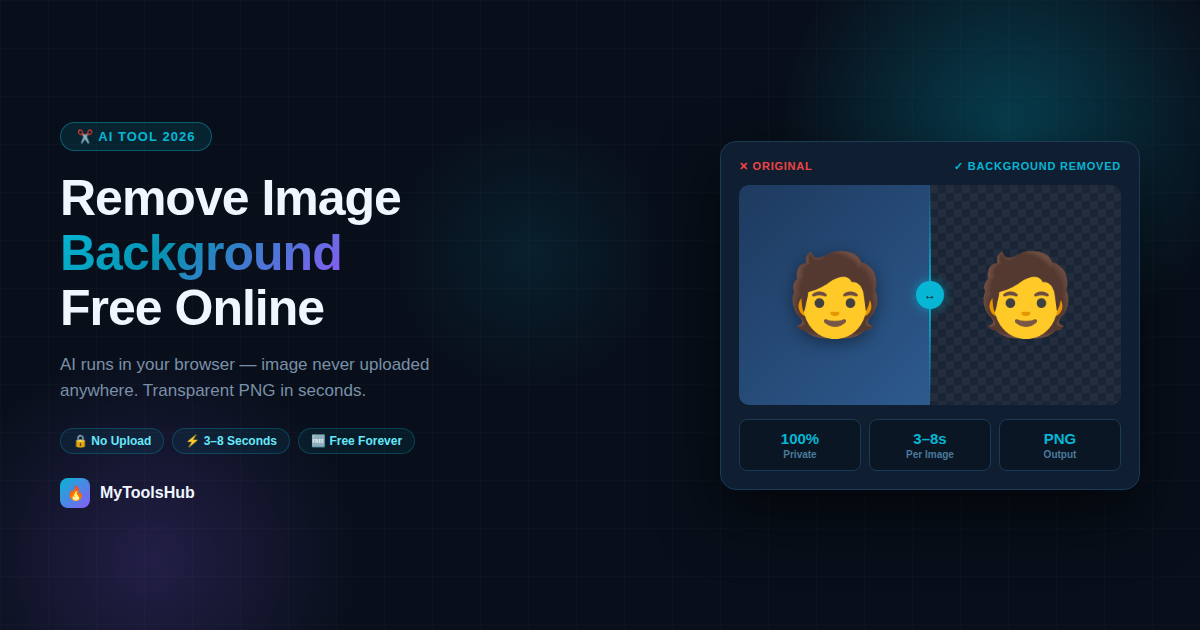
How to Remove Image Background Free Online — No Upload, AI Does It in Seconds
You have a product photo with a cluttered background. Or a portrait you want to drop onto a clean white slide. Or a logo saved as a JPEG that needs a transparent version. In all three cases, the old workflow was the same: upload the image to a cloud tool, wait for server-side AI to process it, hope nothing sensitive traveled across the internet in the process, and deal with subscription paywalls if you wanted full resolution output.
That workflow is no longer the only option. Browser-based AI background removal has matured to the point where the processing happens entirely on your device — no upload, no server, no per-image credit. This article explains how it works, where it performs well, where cloud tools still have an edge, and the practical details (like why PNG matters and what actually causes rough hair edges) that most guides skip.
What Background Removal AI Actually Does — The Non-Technical Version
When you load a background remover tool, it runs a type of neural network called a segmentation model. Its job is to look at every pixel in your image and classify it as either "subject" or "background." The output is a mask — a map that says which pixels to keep and which to make transparent.
The hard part isn't the concept, it's the edges. The AI has to decide what to do with pixels that are partially subject and partially background — the boundary of a strand of hair against a light wall, the soft edge of a shoulder against a blurred background, the semi-transparent fabric of a dress. These are the cases where background removal tools succeed or struggle, and the quality difference between tools comes almost entirely from how well the model handles these edge cases.
Modern browser-based tools use models in the BiRefNet family — the same class of architecture that powers professional cloud tools. The difference is that cloud tools can run larger, more computationally expensive model variants on dedicated GPU servers. Browser-based tools use optimized smaller variants that run on your device's GPU via WebGL. For most images, the output quality is effectively equivalent. For very complex edge cases, cloud tools still have an advantage.
Real Use Cases — When This Tool Actually Gets Used
The PNG vs JPEG Question — Why It Matters More Than Most People Realize
After removing a background, the output format is not a minor detail — it determines whether the transparency is preserved at all. JPEG, the format most photos are saved in originally, fundamentally cannot store transparent pixels. It has no concept of "nothing here" — every pixel must have a color value. If you try to save a transparent-background image as JPEG, the transparent areas automatically fill with white (or the application's default background color).
PNG supports full alpha channel transparency — each pixel can have a value from 0 (fully transparent) to 255 (fully opaque), with any value in between for partial transparency. This is what gives background removal its value: the resulting PNG can be placed over any background in any context, and the edge pixels that are partially transparent will blend correctly rather than showing a hard edge or a white halo.
Why Hair Is Hard — And What You Can Do About It
Hair edges are where automated background removal most visibly succeeds or fails, and understanding why helps you get better results.
The problem is that individual hair strands are semi-transparent — they partially blend with whatever is behind them at a sub-pixel level. The AI has to estimate which pixels are "mostly hair" and which are "mostly background" along the edge, and render them at the corresponding transparency level. If the hair is a similar color to the background, those estimates become unreliable. If the background has texture or pattern, distinguishing it from the texture of the hair becomes even harder.
What consistently produces cleaner hair edges:
- High contrast between hair and background: Dark hair on a white or light background, light hair on a dark background — these produce the cleanest separation. Dark hair against a dark grey background is the hardest case for any tool.
- Even, diffused background lighting: Shadows, gradients, or bright spots on the background introduce the same color variation problem that makes hair detection difficult. A flat, evenly lit background helps the AI maintain a consistent separation line.
- Higher resolution input: More pixels at the hair boundary means the model has more information to work with. A 4000px wide portrait gives significantly more edge detail than a 600px compressed social media photo.
- Sharp original photo: Motion blur at the hair boundary is functionally the same as low resolution — the pixels at the edge don't cleanly represent either hair or background.
Browser-Based vs Cloud Tools — Honest Comparison
| Factor | Browser-Based (This Tool) | Cloud Tools (remove.bg, Canva) |
|---|---|---|
| Image privacy | ✅ Never leaves your device | ⚠️ Uploaded to company servers |
| Cost for unlimited use | ✅ Free, no credits | ⚠️ Free tier limited; HD requires payment |
| First-run speed | ~5 sec model download (cached after) | Instant |
| Per-image speed | 3–8 seconds | 2–4 seconds |
| Simple backgrounds | ✅ Excellent | ✅ Excellent |
| Complex hair, fine edges | Good for most cases | Slightly better on hardest cases |
| Works without internet | ✅ After first model load | ❌ Requires internet |
| Batch processing | One at a time | Paid plans only (most tools) |
| Output resolution | ✅ Full original resolution | Limited on free tier (most tools) |
The honest summary: for everyday use — product photos, portraits, graphics work — browser-based quality is sufficient and the privacy and cost advantages are real. If you're doing high-volume commercial work on very complex images and precision at every hair strand matters, a paid cloud tool is worth the cost for that specific workload.
Step-by-Step — How to Use the Background Remover
- Upload your image — click the upload area or drag and drop. Supports JPG, PNG, WebP up to 10MB.
- Choose your output background — transparent PNG (default), white, black, or a custom color using the color picker.
- Click "Remove Background" — on your first use, the AI model downloads to your browser (about 5 seconds). Every image after that processes in 3–8 seconds.
- Check the preview — the side-by-side original vs result shows you exactly what was removed. The checkerboard pattern represents transparent areas.
- Download — click Download PNG to save the file, or Copy Image to send directly to clipboard for pasting into a design tool.
What the Checkerboard Pattern Means
If you haven't worked with transparent images before, the grey and white checkerboard pattern in the result preview can look like an error. It isn't — it's the standard way image editors and tools display transparency. There's no actual checkerboard in your image; the pattern is just a visual indicator that says "these pixels are transparent — whatever is underneath will show through here."
When you place the downloaded PNG onto a colored background in any design tool, the checkerboard areas will show that color instead. When you use it on a web page, the page's background will show through. The checkerboard disappears as soon as the image is placed in context — it only appears in the "nothing underneath" preview state.
Tips for Getting the Best Results
- Use the highest quality version of your photo — don't use a compressed screenshot or a small preview image. The original full-resolution file gives the AI more to work with at the edges.
- Simple, even backgrounds process most cleanly — a person against a plain white or light wall is the ideal input. Complex patterned backgrounds or backgrounds with similar colors to the subject produce less precise edges.
- For passport photos — shoot against a physical white background first, then use the tool to clean up any shadow gradients. Starting from a near-white background means the AI's job is much easier and the edges will be cleaner.
- If the result has a white halo — this happens when the original background is white and some background pixels get retained along the edge. Try the tool's "Zoom in to check edges" by examining the download at 100% zoom before deciding if it meets your needs.
- For objects, not just people — product photos of shoes, bags, electronics, and packaged goods typically produce very clean results because the edges are sharper and less complex than hair.
Frequently Asked Questions
Can I remove an image background for free without uploading it anywhere?
Yes. Browser-based background removal tools run the AI entirely on your device. The image never leaves your browser — no server upload happens at all. MyToolsHub's Background Remover works this way: the AI model downloads once to your browser and processes every image locally after that.
What file format should I download after removing the background?
Always PNG. JPEG cannot store transparent pixels — it fills transparency with white automatically. PNG preserves transparent areas as proper alpha channel data, so you can place the image over any background without white edges appearing.
Why does my background-removed image have rough edges around hair?
Hair is the hardest subject for automated background removal because individual strands blend with the background at a pixel level. The quality depends heavily on contrast — dark hair on a white background produces much cleaner edges than dark hair against a similar-toned background. Using a high-resolution original and a plain, evenly lit background helps significantly.
Is browser-based background removal as good as remove.bg?
For most everyday images — product photos, portraits on simple backgrounds, objects — the quality is comparable. Cloud tools have an edge on very complex cases like fine curly hair against busy backgrounds, because they run larger models on dedicated servers. For the vast majority of use cases, results are indistinguishable in practice.
Can I add a white background after removing the original one?
Yes. Use the background color selector in the tool before downloading — choose white, black, or any custom color. This composites your subject onto that color and saves a flat PNG, useful for e-commerce listings, passport photos, and platforms that don't support transparency.
After removing your background, you might need to resize the image for a specific platform — try our Image Resizer for exact pixel dimensions, or our Image Compressor if the PNG file size needs to come down for web upload.
Comments (0)
Leave a Comment